
Pixilab - Block license: 3D
€772
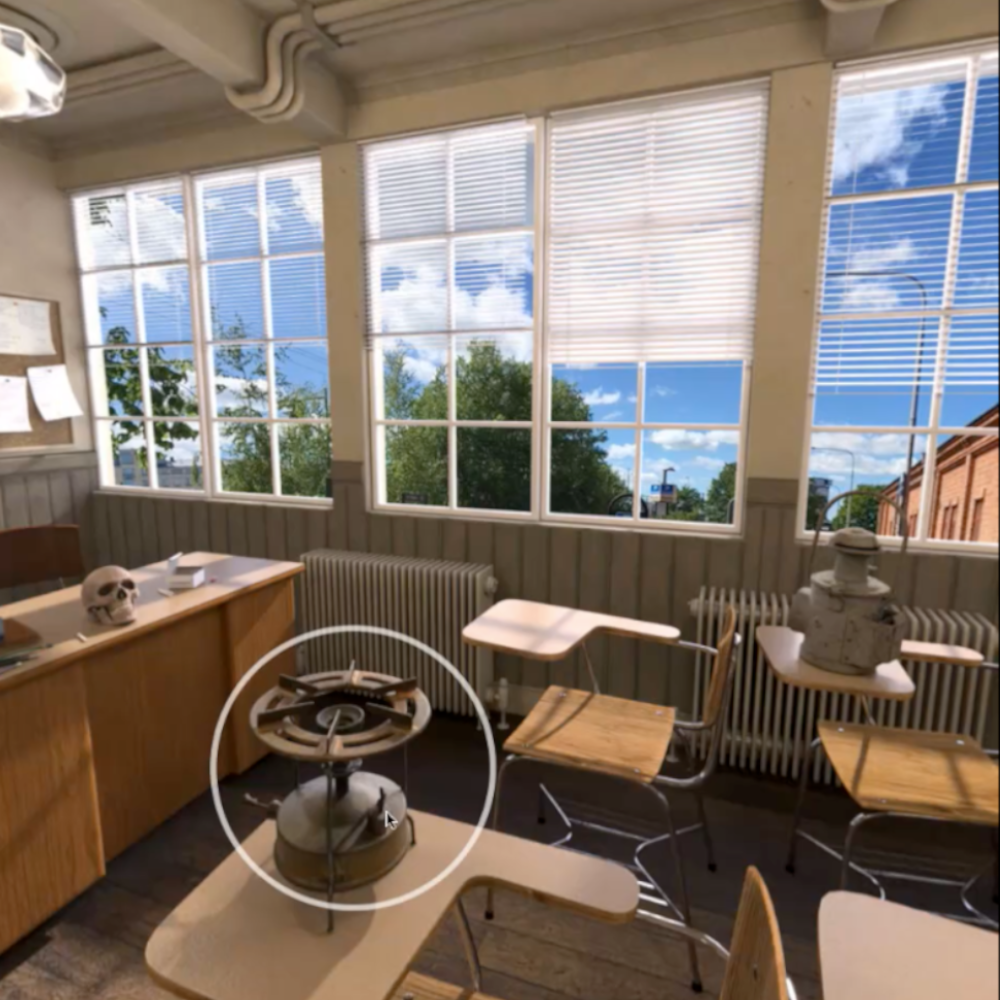
Pick up objects, spin them around and watch them operate. The 3D block makes your hidden treasures come alive. Define interesting poses and animations. Hotspots trigger object-specific or system-wide actions.
- Fast Deliveries!
- Any Questions? We will help you!
- Multiple payment options!
- BrandPIXILAB
Description
Article no.: 622-0215
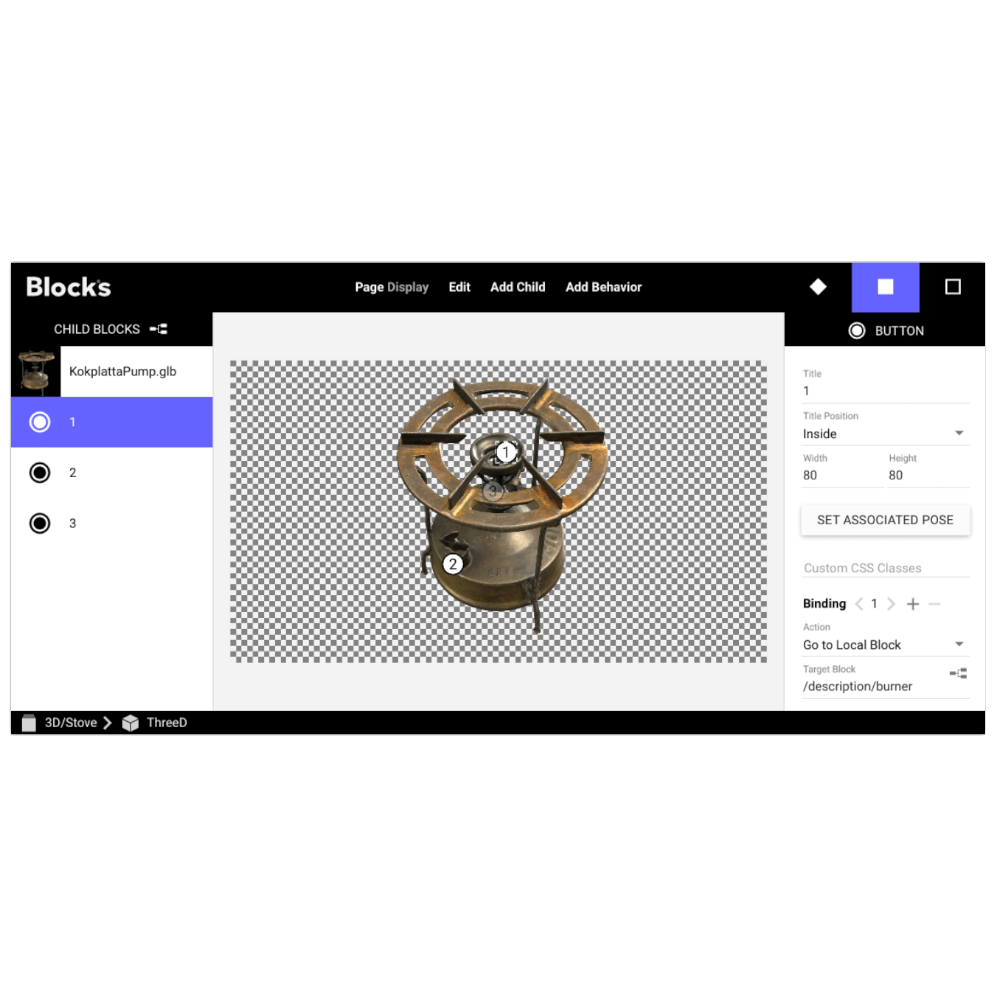
This block type displays a 3D model that can be rotated, moved sideways and zoomed interactively. Use it to show a 3D scanned artifact, or a model originating from some 3D or CAD application. It’s based on a 3D model in the GLB format, which is a standardized 3D format that encapsulates the geometry, textures, animation and other related data into a single, compact file. Buttons can be added to the surface of the 3D object, acting as clickable hot-spots.
NOTE: This is a premium block type, requiring a license in order to be displayed.
Visitors can navigate the 3D block using touch (recommended) or mouse.
NOTE: 3D files can very large, and may need to be optimized for best performance. This applies in particular if you want to use 3D-scans in Blocks. Blocks supports the DRACO compression method, often useful for complex 3D models.
Use custom CSS to change the look of buttons, adding icons or other symbols, etc. Program the button, making it go to another view using a Book, controlling some external function, or anything else a button can do in Blocks.
HINT: Buttons in a 3D block can only be positioned on the surface of the model. To place buttons outside the model, wrap the 3D block with a Composition, then add buttons there instead. A button can also be used to position the 3D object it's attached to:
HINT: If you only want to use a button for positioning, you can hide it or change its appearance using CSS.
NOTE: This is a premium block type, requiring a license in order to be displayed.
Visitors can navigate the 3D block using touch (recommended) or mouse.
Outer Block Settings
- Illumination Factor controls the intensity of the standard three-point lighting automatically applied by Blocks. Adjust this setting if your model appears over/under exposed. Set this factor to zero or a low value if your model includes its own lighting inside the 3D file.
- Show Shadows makes the key light cast shadows on the model. This may slow down rendering of complex models. Navigation Touch Mouse Spin around Single finger drag Draw using left mouse button Zoom in/out Pinch using two fingers Scroll wheel Move sideways or up/down Drag using two fingers Press scroll wheel and drag 49
- Tilt Min/Max controls limits the ability to rotate the model around its horizontal axis. This is particularly useful for models where only one side (typically the top) has been scanned. Then set Tilt Min to a small negative value, such as -10 degrees.
- Set as Initial Pose. Specify the orientation and size of the model when appearing on a spot by positioning it in the editor, then press “Set as Initial Pose”.
- Auto-spin while Inactive automatically resets the model to its initial pose after a configurable period of inactivity. When selected, you can also opt to have the model auto-rotate while inactive by specifying a rotation speed.
Obtaining 3D models
Note that you can only add a single 3D model, which must be the first block in the list of child blocks. This model must be a GLB file. A model can be obtained in a number of ways – often requiring a combination of multiple techniques.- For physical objects, where a high degree of precision is desired, use a professional grade 3D scanner, available from a number of manufacturers. These often combine multiple techniques, such as photography and lidar
- Photogrammetry, deriving the 3D model from a large number of photographs.
- For quick tests, you may be able to use a phone-based scanner app.
- Create or edit a model in a 3D application, then export it as a GLB file.
- Download one from one of the many sites on the internet that provide 3D files, such as Sketchfab or the Smithsonian. Sketchfab is a great website for finding 3D models. Unfortunately, GLB isn’t one of their supported formats. It does, however, provide the closely related GLTF format. This can easily be converted to GLB using a number of online services, as well as many 3D programs, such as Blender. The Smithsonian museum has lots of 3D models in the GLB format.
NOTE: 3D files can very large, and may need to be optimized for best performance. This applies in particular if you want to use 3D-scans in Blocks. Blocks supports the DRACO compression method, often useful for complex 3D models.
Adding Buttons to a 3D Block
Add buttons to the 3D model using the command on the Add Child menu. Position the button by dragging it to the desired location. The dimensions of a button must be set numerically.Use custom CSS to change the look of buttons, adding icons or other symbols, etc. Program the button, making it go to another view using a Book, controlling some external function, or anything else a button can do in Blocks.
HINT: Buttons in a 3D block can only be positioned on the surface of the model. To place buttons outside the model, wrap the 3D block with a Composition, then add buttons there instead. A button can also be used to position the 3D object it's attached to:
- Select a button in the 3D block.
- Position the 3D model as desired.
- Press “Set Associated Pose”.
HINT: If you only want to use a button for positioning, you can hide it or change its appearance using CSS.